
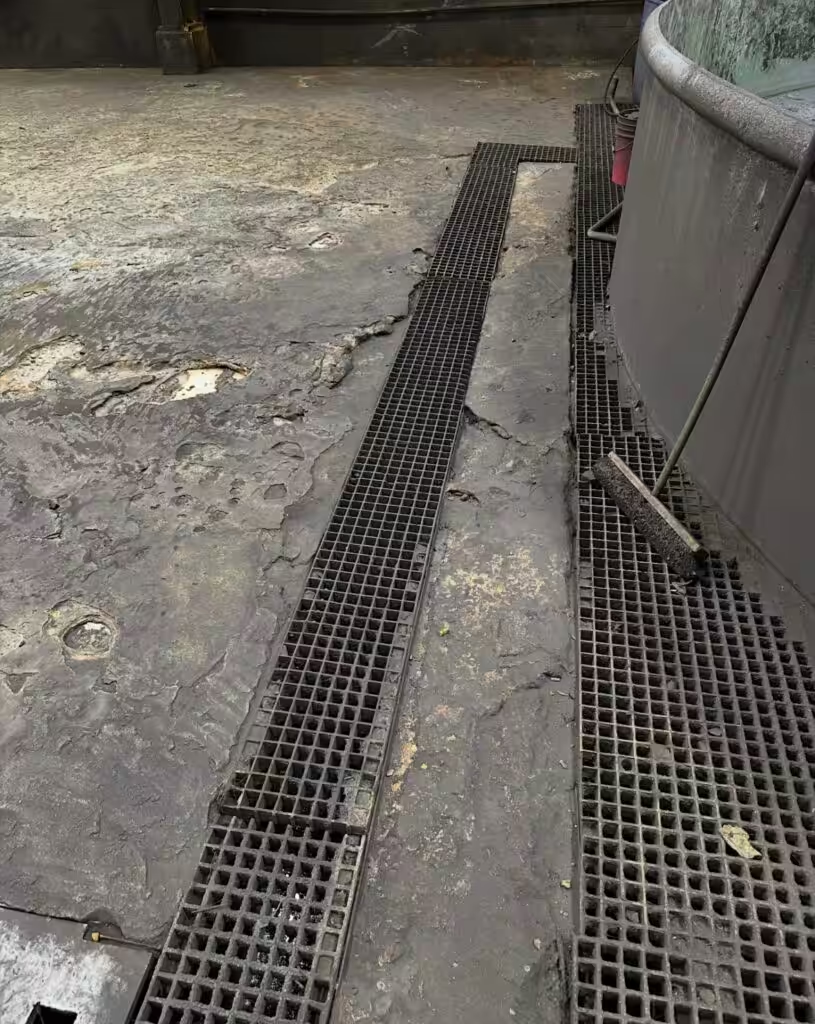
Most of the chemical-related floor failures we get called in to look at come down to a good product being installed in the wrong room. A standard epoxy that performs well in a warehouse or packaging area can soften, stain, etch, or lift within months once it sees hot caustic washdowns or the organic acids common in food processing.
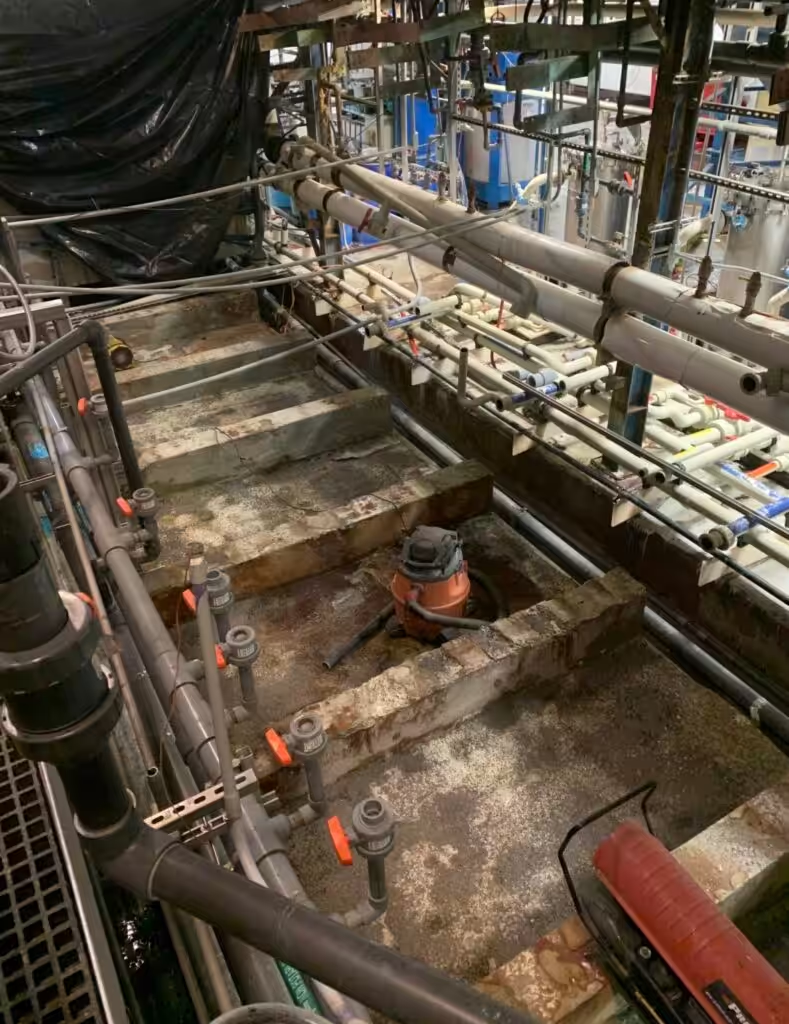
When that happens, the plant ends up with exposed concrete and open harborage points for bacteria. The repair then has to be scheduled around production. In regulated operations, a failing floor can also turn into an audit finding.
Choosing a floor system for a chemical environment starts with four questions: what hits the floor, how often, how hot, and for how long. Those answers should drive the resin chemistry and thickness of the system, along with how it is detailed at drains and edges.
Start With What Hits the Floor
Our first step on any chemical project is an exposure inventory for each area of the facility. Knowing which chemical is present only gets you partway to a coating selection. The same chemical can be harmless as a quick splash at room temperature and destructive as a hot, concentrated puddle that sits under a piece of equipment over a weekend.
For every area, the inventory should capture:
- Chemical identity. Process chemicals, raw materials, and finished product, plus anything that drips, spills, or gets tracked in. Safety Data Sheets are the place to begin.
- Concentration. A 5% solution and a 50% solution of the same acid are distinct exposures that may each need their own coating.
- Temperature. Record the temperature of the chemical and of the washdown water. Heat speeds up chemical attack.
- Dwell time. Note whether it is splash and spill that gets cleaned up quickly, intermittent pooling, or constant immersion in a trench or containment area.
- Frequency. Track how often the exposure happens. An occasional spill and continuous contact lead to different recommendations.
- Cleaning and sanitation chemicals. This exposure is left off the list more than any other. At many sites, the sanitation program is harder on the floor than the process itself.
Sanitation
Sanitation deserves extra attention. In food and beverage plants, the floor sees the product first and then the chemicals used to remove it, such as chlorinated alkaline cleaners, acid rinses, quaternary ammonium sanitizers, and peracetic acid. Routine disinfection in pharmaceutical suites often includes isopropyl alcohol, hydrogen peroxide, sporicidal agents, and sodium hypochlorite. A floor that tolerates the product but not the sanitation program is going to fail on the sanitation program.
The sanitation contractor or in-house sanitation lead is usually the best source for this information. During the site assessment, we ask for their chemical list along with dilution rates and water temperatures.
How the Common Resin Systems Compare
Each family of resins handles some exposures well and breaks down under others. The table below is a general guide. For any given product, the manufacturer’s data sheet is the final word.
| System | Holds up well against | Where to be careful | Where we typically use it |
|---|---|---|---|
| Standard epoxy (bisphenol A/F) | Many alkalis, oils, fuels, dilute mineral acids, general cleaners | Organic acids such as lactic, acetic, and citric; strong solvents; hot water and thermal shock | Dry processing, warehousing, packaging, labs, and moderate-exposure areas |
| Novolac epoxy | Concentrated mineral acids such as sulfuric, a broader range of solvents, many aggressive process chemicals | More brittle than standard epoxy; limited tolerance for thermal shock; can discolor | Chemical storage, battery rooms, containment, and high-concentration spill areas |
| Urethane concrete (urethane cement) | Organic acids, alkalis, hot water washdown, thermal cycling, impact, moisture in the slab | Appearance (matte finish, can amber over time); check individual mineral acids and solvents against the data sheet | Wet food and beverage processing, slope-to-drain areas, ovens, coolers and freezers, pharmaceutical process areas |
| Urethane and polyaspartic topcoats | Staining, abrasion, UV exposure, many sanitizers at the surface | A thin film that protects the surface; the body coat underneath is the chemical barrier | Over epoxy and urethane concrete systems to improve cleanability, color retention, and wear |
A floor system is built in layers: primer, body coat or mortar, and topcoat. The topcoat is the first thing the chemical touches, so it has to suit the exposure, too. A strong body coat paired with the wrong topcoat will stain, dull, or wear through at the surface while the layers below are still sound.
Organic acids catch many food plants off guard. Milk, whey, fruit juice, vinegar, wine, beer, and blood rarely get treated as chemicals on an exposure list. Over time, though, lactic, citric, and acetic acids etch standard epoxy. Sugar solutions left to sit can also ferment into acids. Those acids are a main reason urethane concrete is the default choice in most wet food and beverage processing areas.
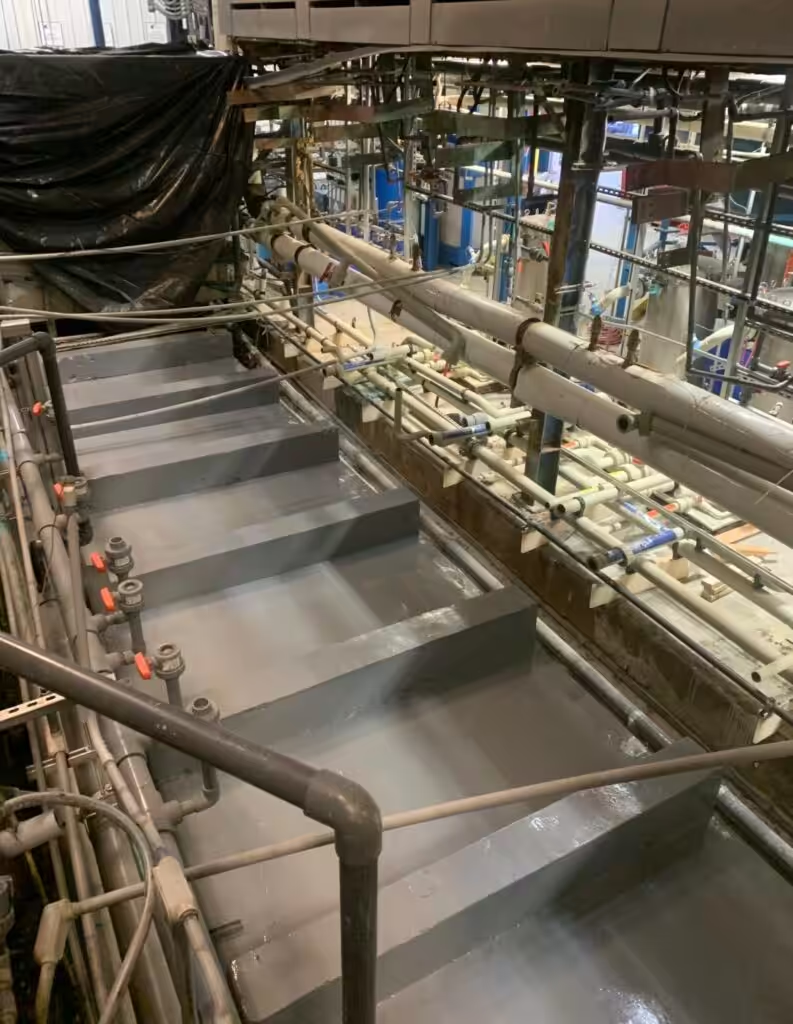
Severe exposures, such as concentrated oxidizing acids or long-term immersion in secondary containment, may require vinyl ester or another specialty lining. In those cases, we review the chemistry with the manufacturer ahead of making a selection.
Temperature and Thermal Shock
Temperature is the variable we see underestimated most during selection. Most chemical resistance ratings are published at or near room temperature. Raising the temperature of the same chemical makes it more aggressive, sometimes by a wide margin. A cleaner that a coating handles well at 70°F may soften it at 160°F.
Thermal shock is a separate problem from chemical attack and just as important. When hot water or steam hits a cold floor, or when a freezer gets washed down, the coating and the concrete expand and contract at different rates. Rigid systems that can’t absorb that movement will crack or debond at the edges. Once the bond breaks, chemicals get under the coating and eat into the concrete from below.
That’s why we look at the washdown program as closely as the chemical list. Hot water and steam cleaning, ovens, kettles, fryers, CIP discharge, and freezers all point toward urethane concrete at an appropriate thickness. Manufacturers assign urethane concrete products temperature ratings based on thickness. Confirm that rating for the product and exposure in question during specification.
Reading a Chemical Resistance Chart
Resin manufacturers publish chemical resistance charts for their products. The charts are useful tools that are also easy to misread. Check these five things first:
- The test method. Charts usually rely on a spot test or an immersion test. Coatings are commonly tested by a method similar to ASTM D1308, where the chemical sits on the surface for a set time. Mortars and heavier surfacings are generally tested to ASTM C267. A spot test and an immersion test represent different exposures.
- The exposure time. A rating based on a 24-hour spot test says little about a week of pooling under a tank.
- The temperature. Charts are normally run at room temperature. For a hot exposure, the chart rating does not apply as written.
- The concentration. Look for the exact concentration used in your facility. If the chart lists 10% and your process runs 40%, call the manufacturer.
- What the rating means. “Recommended” for splash and spill is a lower bar than “recommended” for immersion. Some charts also separate staining from degradation. A floor can stain and still protect the concrete. It can also look fine while it softens.
For unusual conditions, or chemical blends that don’t appear on any chart, the answer is to test. We can apply sample panels of the proposed system and expose them to the plant’s own chemicals at operating temperature ahead of the full installation. That small step removes much of the guesswork.
Chemistry Is Only Half the Job
The right resin will still fail at the wrong thickness or over poor surface preparation. In our experience, chemical failures almost always start at a detail. These are the areas we watch most closely:
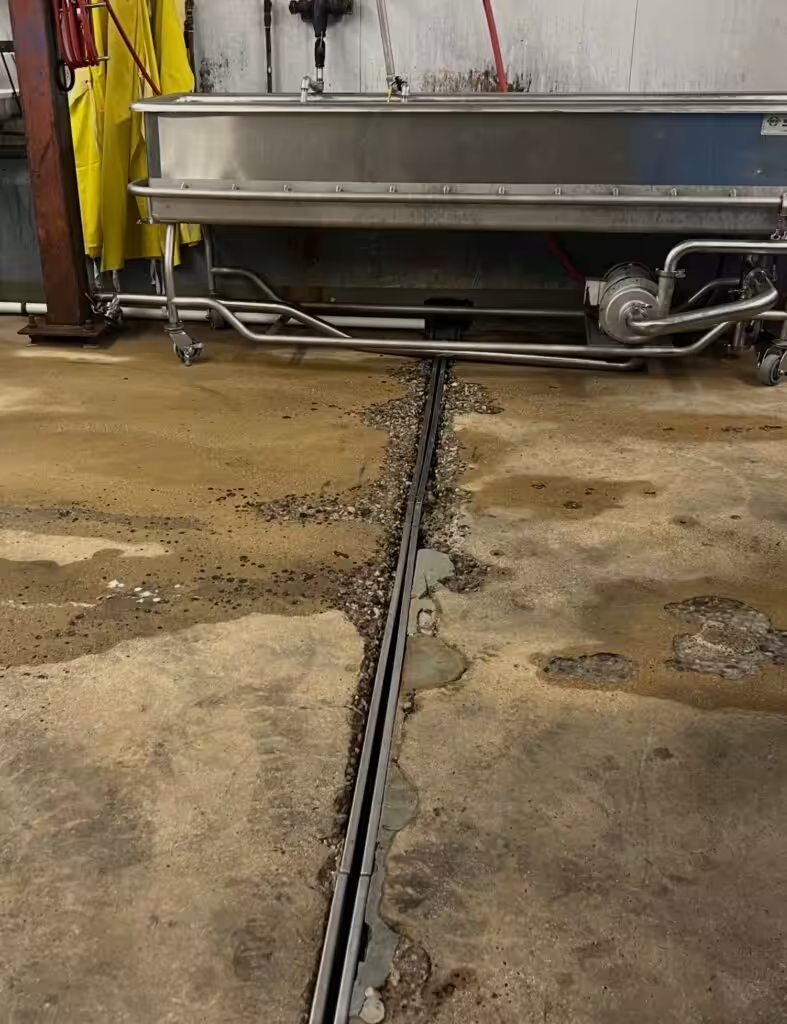
- Drains and trenches. Chemicals collect here and sit the longest. The floor system needs to be keyed into the drain body and finish flush, leaving no lip or gap for liquid and bacteria to collect. An undersized drain or one set too high will cause ponding regardless of the coating around it.
- Cove base and wall transitions. An integral cove base carries the flooring up the wall and closes off the floor-wall joint, a common harborage point. Walls that see splash should get a hygienic wall system tied into the cove.
- Joints and cracks. Control joints, construction joints, and cracks have to be detailed so the coating stays continuous over them. An open joint gives chemicals a direct path to the concrete.
- Equipment bases, curbs, and penetrations. Anchor points, housekeeping pads, and pipe penetrations are frequent leak points and need proper terminations.
- Edges and terminations. Wherever the flooring stops, at a door, a drain, or another floor type, it needs a keyed termination to keep chemicals from working under the coating.
Surface preparation and thickness matter just as much. A thicker urethane concrete system needs a far more aggressive surface profile than a thin-film epoxy. The profile should match the manufacturer’s requirements for that product. Thickness determines how much heat, impact, and chemical exposure a system can take. Slab moisture has to be measured ahead of installation, because some resins tolerate high moisture while others blister or debond.
Initial Price vs. Cost Over the Life of the Floor
A chemical-resistant system matched to the exposure will almost always cost more up front than a general-purpose coating. Many buying decisions stop at that comparison. That is where many facilities end up paying twice.
When a floor is under-specified for the chemicals it sees, the cost keeps going after the original installation. It appears later as recurring patching and a second shutdown to tear out the failed system. The exposed slab frequently needs concrete repair as well. Lost production time adds to the bill while the area is down. In regulated facilities, a deteriorating floor can raise sanitation and audit concerns that have to be addressed on a timeline the plant does not control.
Lower-cost systems have their place. A dry storage room or a lightly exposed packaging area can be served well by a simpler system, which frees up budget for the wet processing rooms that need more. The goal is to match the system to the exposure area by area. In many facilities that means two or three systems under one roof, each sized to the conditions it will see.
What to Have Ready for the Walkthrough
The most productive site assessments happen when the facility team gathers a few things ahead of time. If you are planning a floor project in a chemical environment, it helps to have:
- Safety Data Sheets for the process chemicals in each area
- The sanitation chemical list, with dilution rates and washdown temperatures
- Process temperatures and any hot or cold equipment discharge
- Notes on where spills happen, where water ponds, and where the current floor has failed
- Photos of past failures, especially in areas that have since been repaired
- Shutdown windows and any areas that must stay in production during the work
With that information in hand, the conversation moves quickly to a firm recommendation for each area. That recommendation covers the system and its thickness, plus how drains, coves, and joints get detailed.
Matching the chemistry to the exposure is straightforward work that has to be done deliberately. The facilities that get long service life out of their floors took the time to define the exposure first and chose the product second.