
Epoxy floor peeling is one of the most common calls we get from facility and maintenance managers. The floor may have looked great on the day it was finished. But six months or two years later, it starts lifting in sheets at the forklift aisle, blistering near a dock door, or flaking off around drains.
Peeling is a bond failure. Somewhere between the concrete and the topcoat, the coating let go. The first instinct is usually to grind out the loose areas and recoat them. Sometimes that is the right call. In many cases, though, the same failure comes back in the same spots because the cause was never identified.
The fix depends on why the floor failed, and the floor itself usually holds the first clues.
Start With the Back of the Chip
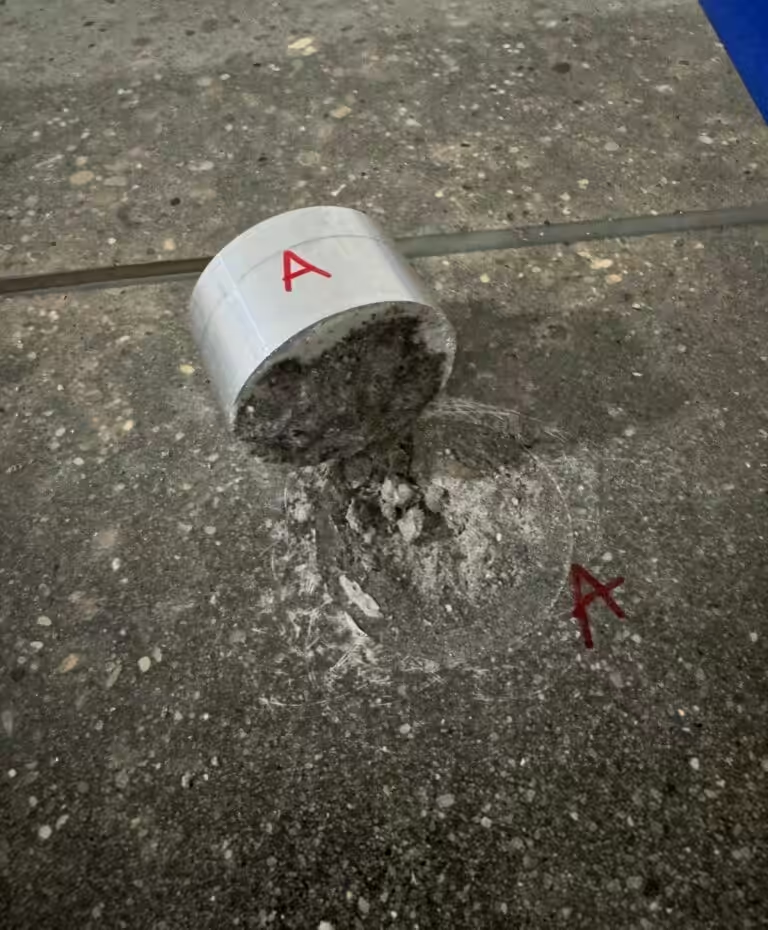
Pick up a piece of the peeled coating and turn it over. Where the coating separated, called the failure plane, tells you more than anything else on the floor.
- Bare coating, no concrete attached. The coating never bonded to the slab. The usual culprits are poor surface preparation, contamination on the concrete, and moisture at the bond line during or after installation.
- A layer of concrete stuck to the back. The bond held while the concrete underneath it failed. The likely cause is weak surface concrete, such as laitance or a soft, overworked finish, or a coating that put more stress on the slab than the surface could carry.
- Separation between coats. One coat let go of another. This is an intercoat adhesion failure, generally caused by missing the recoat window, skipping the sanding step on a cured coat, or contamination between coats.
- Blisters that hold liquid. Blisters filled with fluid, which often tests high in pH, indicate moisture moving up through the slab. The industry term is osmotic blistering.
Where the failure shows up also matters. Peeling along forklift lanes and dock doors suggests the system was too thin for the traffic. Failure concentrated around drains, washdown areas, or hot equipment is a sign of thermal shock or chemical attack. Failure in a scattered pattern across a new slab often comes back to moisture.
The Most Common Causes
Inadequate Surface Preparation
Poor surface preparation is the cause we find most often. Epoxy needs a clean, sound, profiled surface to bond. Acid etching and light sanding were standard practice on older jobs and still show up on low-bid work, but neither one reliably removes laitance, sealers, or curing compounds. Mechanical preparation by shot blasting or diamond grinding opens the surface to the concrete surface profile (CSP) the manufacturer calls for. Thin-film coatings need a lighter profile. Slurries and mortars need a heavier one. A coating applied over a profile that is too smooth for the product has little to hold onto.
Contamination
Oil, grease, hydraulic fluid, and process residue soak into concrete over years of use. Curing compounds, penetrating sealers, and old coatings leave films that block adhesion. Some of these sit well below the surface, which is why a floor can look clean and still fail. Heavily contaminated areas may need degreasing, deeper removal, or saw cutting and replacement of the affected concrete.
Moisture in the Slab
Concrete holds water long after it looks dry. Many slabs on grade also keep drawing moisture from below if there is no effective vapor retarder. Moisture vapor transmission, the movement of water vapor up through the slab, can build pressure under a coating that is not designed to tolerate it. The result is blistering or a broad loss of bond. New slabs and older slabs without a vapor retarder carry the highest risk.
Application Conditions
Epoxy is sensitive to its environment during installation. Substrate temperature, ambient temperature, relative humidity, and dew point all affect how the material cures. If the slab is within 5°F of the dew point, condensation can form on the surface and interfere with the bond. Off-ratio mixing, partial-kit mixing, applying outside the recoat window, and applying at the wrong film thickness can all cause a coating to fail.
The Wrong System for the Service
Some floors fail because the system was never suited to the conditions in the first place. A thin-film epoxy in a forklift aisle wears through and starts to chip at the edges. Standard epoxy in an area with hot washdowns or freezer temperatures can crack and debond from thermal shock. Chemical exposure the coating was not formulated for can soften it and break the bond from the top down. In these areas, recoating with the same product will produce the same result.
Testing Takes the Guesswork Out
Visual clues narrow down the cause and testing confirms it. On a failed floor, we typically look at three things.
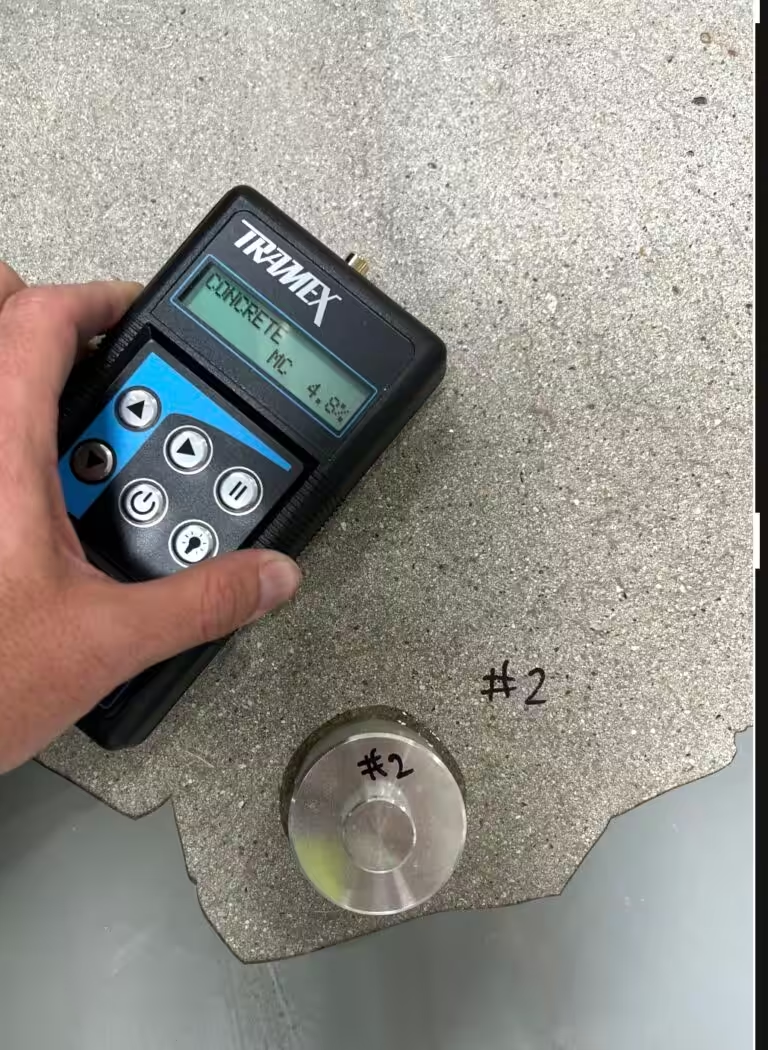
Moisture. The two standard tests are in-situ relative humidity probes, done to ASTM F2170, and calcium chloride testing, done to ASTM F1869. The relative humidity method measures moisture inside the slab and is now the preferred method for flooring installations. A simple plastic sheet test, ASTM D4263, can show whether moisture is coming up, but it does not give a number to compare against a manufacturer’s limit. Results should be checked against the published limits for the specific coating.
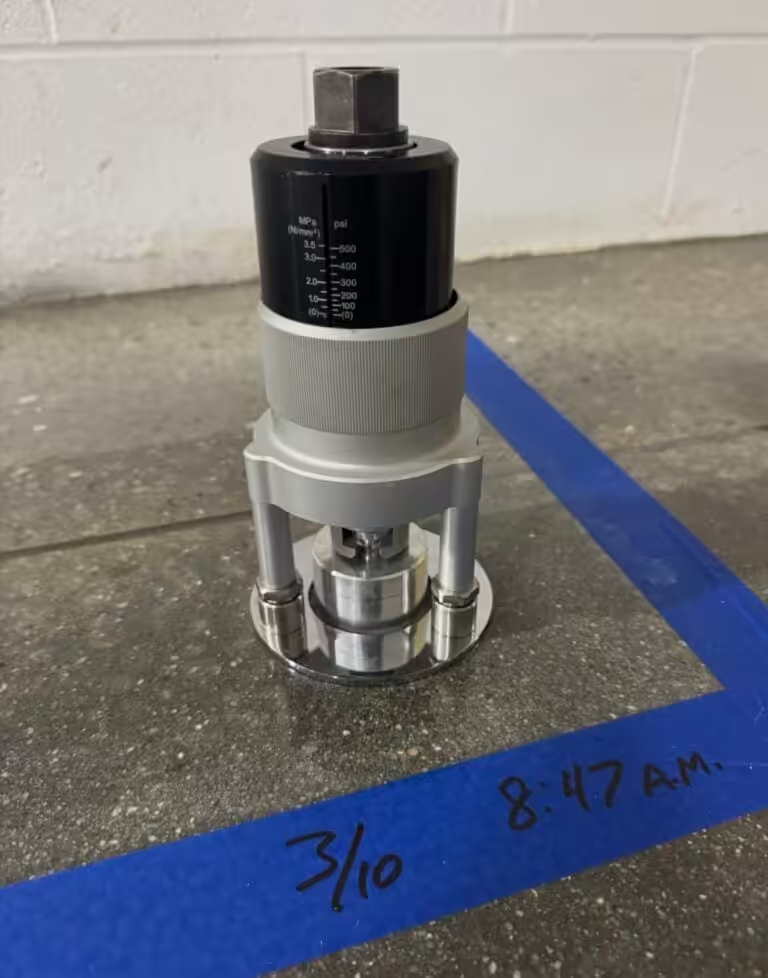
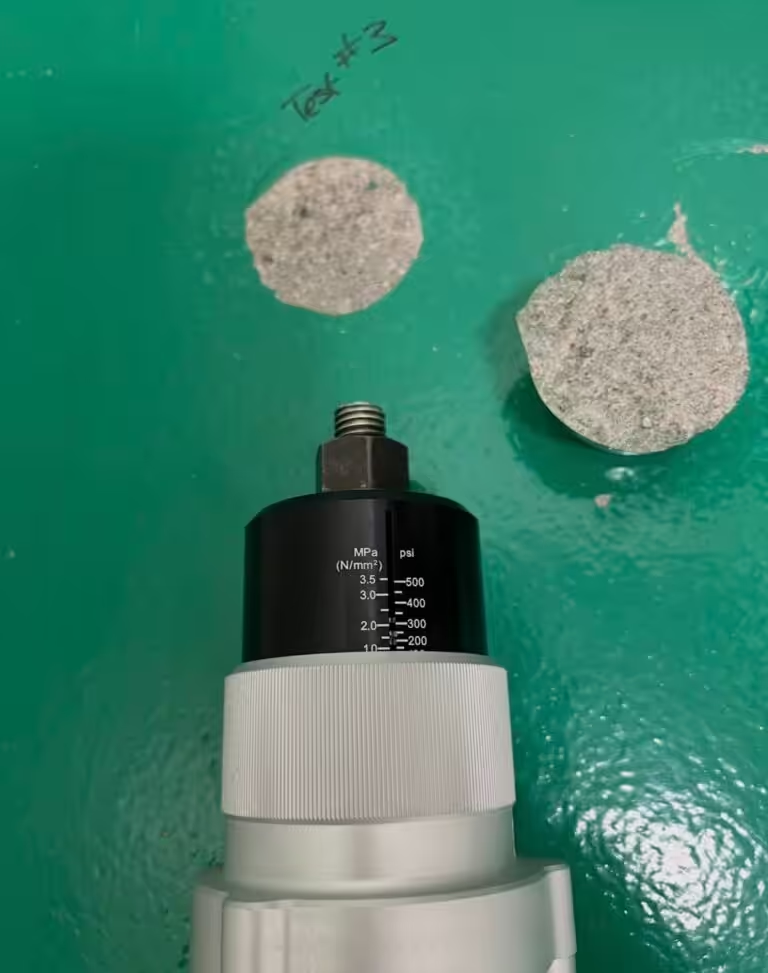
Adhesion. A pull-off adhesion test, such as ASTM D7234, measures how much force it takes to pull a test dolly off the coated surface. It also shows where the failure happens: in the coating, at the bond line, or in the concrete. On a floor with scattered peeling, adhesion testing in the areas that look intact shows whether the rest of the coating is still well bonded or close to failing.
Concrete condition. Sounding the floor with a hammer or chain drag helps find hollow, delaminated areas that have not lifted yet. Cores can be taken where the concrete strength or contamination depth is in question.
Testing adds a little time and cost to the start of the project. However, it is far less expensive than recoating a floor and watching it fail again.
Should I Patch or Replace My Epoxy Floor?
The answer comes down to how much of the floor is affected and whether the cause is local or floor-wide.
| Condition | Likely approach |
|---|---|
| Small, isolated failures from impact, a single spill, or a local contamination spot; adhesion tests show the rest of the floor is well bonded | Spot repair: remove the failed area back to sound coating, prepare the concrete, and patch with a compatible system |
| Failure along traffic lanes or at doors, with the rest of the floor in good condition | Repair the affected lanes with a more durable system rated for the traffic, tied into the existing floor |
| Widespread peeling, failed adhesion tests in areas that still look sound, or moisture readings above the product limits | Full removal and replacement, with moisture mitigation if testing calls for it |
| Repeated failure from thermal shock or chemical exposure | Replacement with a system suited to the service, such as urethane concrete in hot washdown areas |
A patch over an unresolved cause is a temporary repair. That can be a reasonable choice when a shutdown window is short or a budget is set for the year, as long as everyone understands it is a stopgap. When a patch makes sense in the short term, we tell the customer that directly and explain what a permanent fix would involve.
Fixing It the Right Way
A lasting epoxy floor repair follows this sequence whether it covers 200 square feet or an entire plant.
- Remove the failed coating. Loose and poorly bonded coating comes off by grinding, shot blasting, or scarifying, depending on the thickness of the existing system. Any coating left in place has to be well bonded and tested, because a new system is only as strong as what it sits on.
- Prepare the concrete. The slab is mechanically prepared to the CSP the new system requires. Contaminated concrete is cleaned, removed, or replaced. Weak surface concrete is taken down to solid concrete.
- Repair the substrate. Cracks, spalls, and failed joints are repaired with materials matched to the new system. Low spots and areas that pond water are corrected so the new floor drains properly.
- Address moisture. If testing shows moisture above the limits of the intended system, a moisture mitigation primer or a moisture-tolerant system goes down first. Urethane concrete can serve this role on many wet or high-moisture slabs.
- Detail the terminations. Edges at doors, drains, walls, and transitions to other flooring get keyed terminations so the new system cannot be lifted from the edge.
- Control the installation conditions. Substrate moisture, substrate temperature, ambient temperature, and dew point are measured and recorded throughout the job. Full kits are mixed at the correct ratio, applied at the specified thickness, and recoated within the manufacturer’s window.
- Allow full cure. The floor goes back into service on the manufacturer’s schedule for foot traffic, wheeled traffic, and chemical exposure. Opening a floor early to save a day can undo the work.
Matching the system to the service is part of the repair. If the original floor failed because a thin-film epoxy was installed in a heavy traffic or hot washdown area, the replacement should be a heavier epoxy slurry or mortar, or urethane concrete, rather than another coat of the same product.
What to Have Ready for the Walkthrough
A site assessment goes further when the facility team pulls together some history on the floor. It helps to have:
- The age of the slab and the original coating, and the product used if it is known
- Where the peeling started, and how quickly it has spread
- Traffic in the affected areas, including forklifts, pallet jacks, and carts
- Cleaning methods, chemicals, and water temperatures
- Any prior repairs, and how long they lasted
- Shutdown windows and areas that must stay in production during the work
A peeling floor is telling you something about the slab, the installation, or the conditions the floor works in. Pinning down the cause up front keeps the repair from becoming the next failure.